Transferring PlayStation®2 saves from Memory Cards to PCSX2
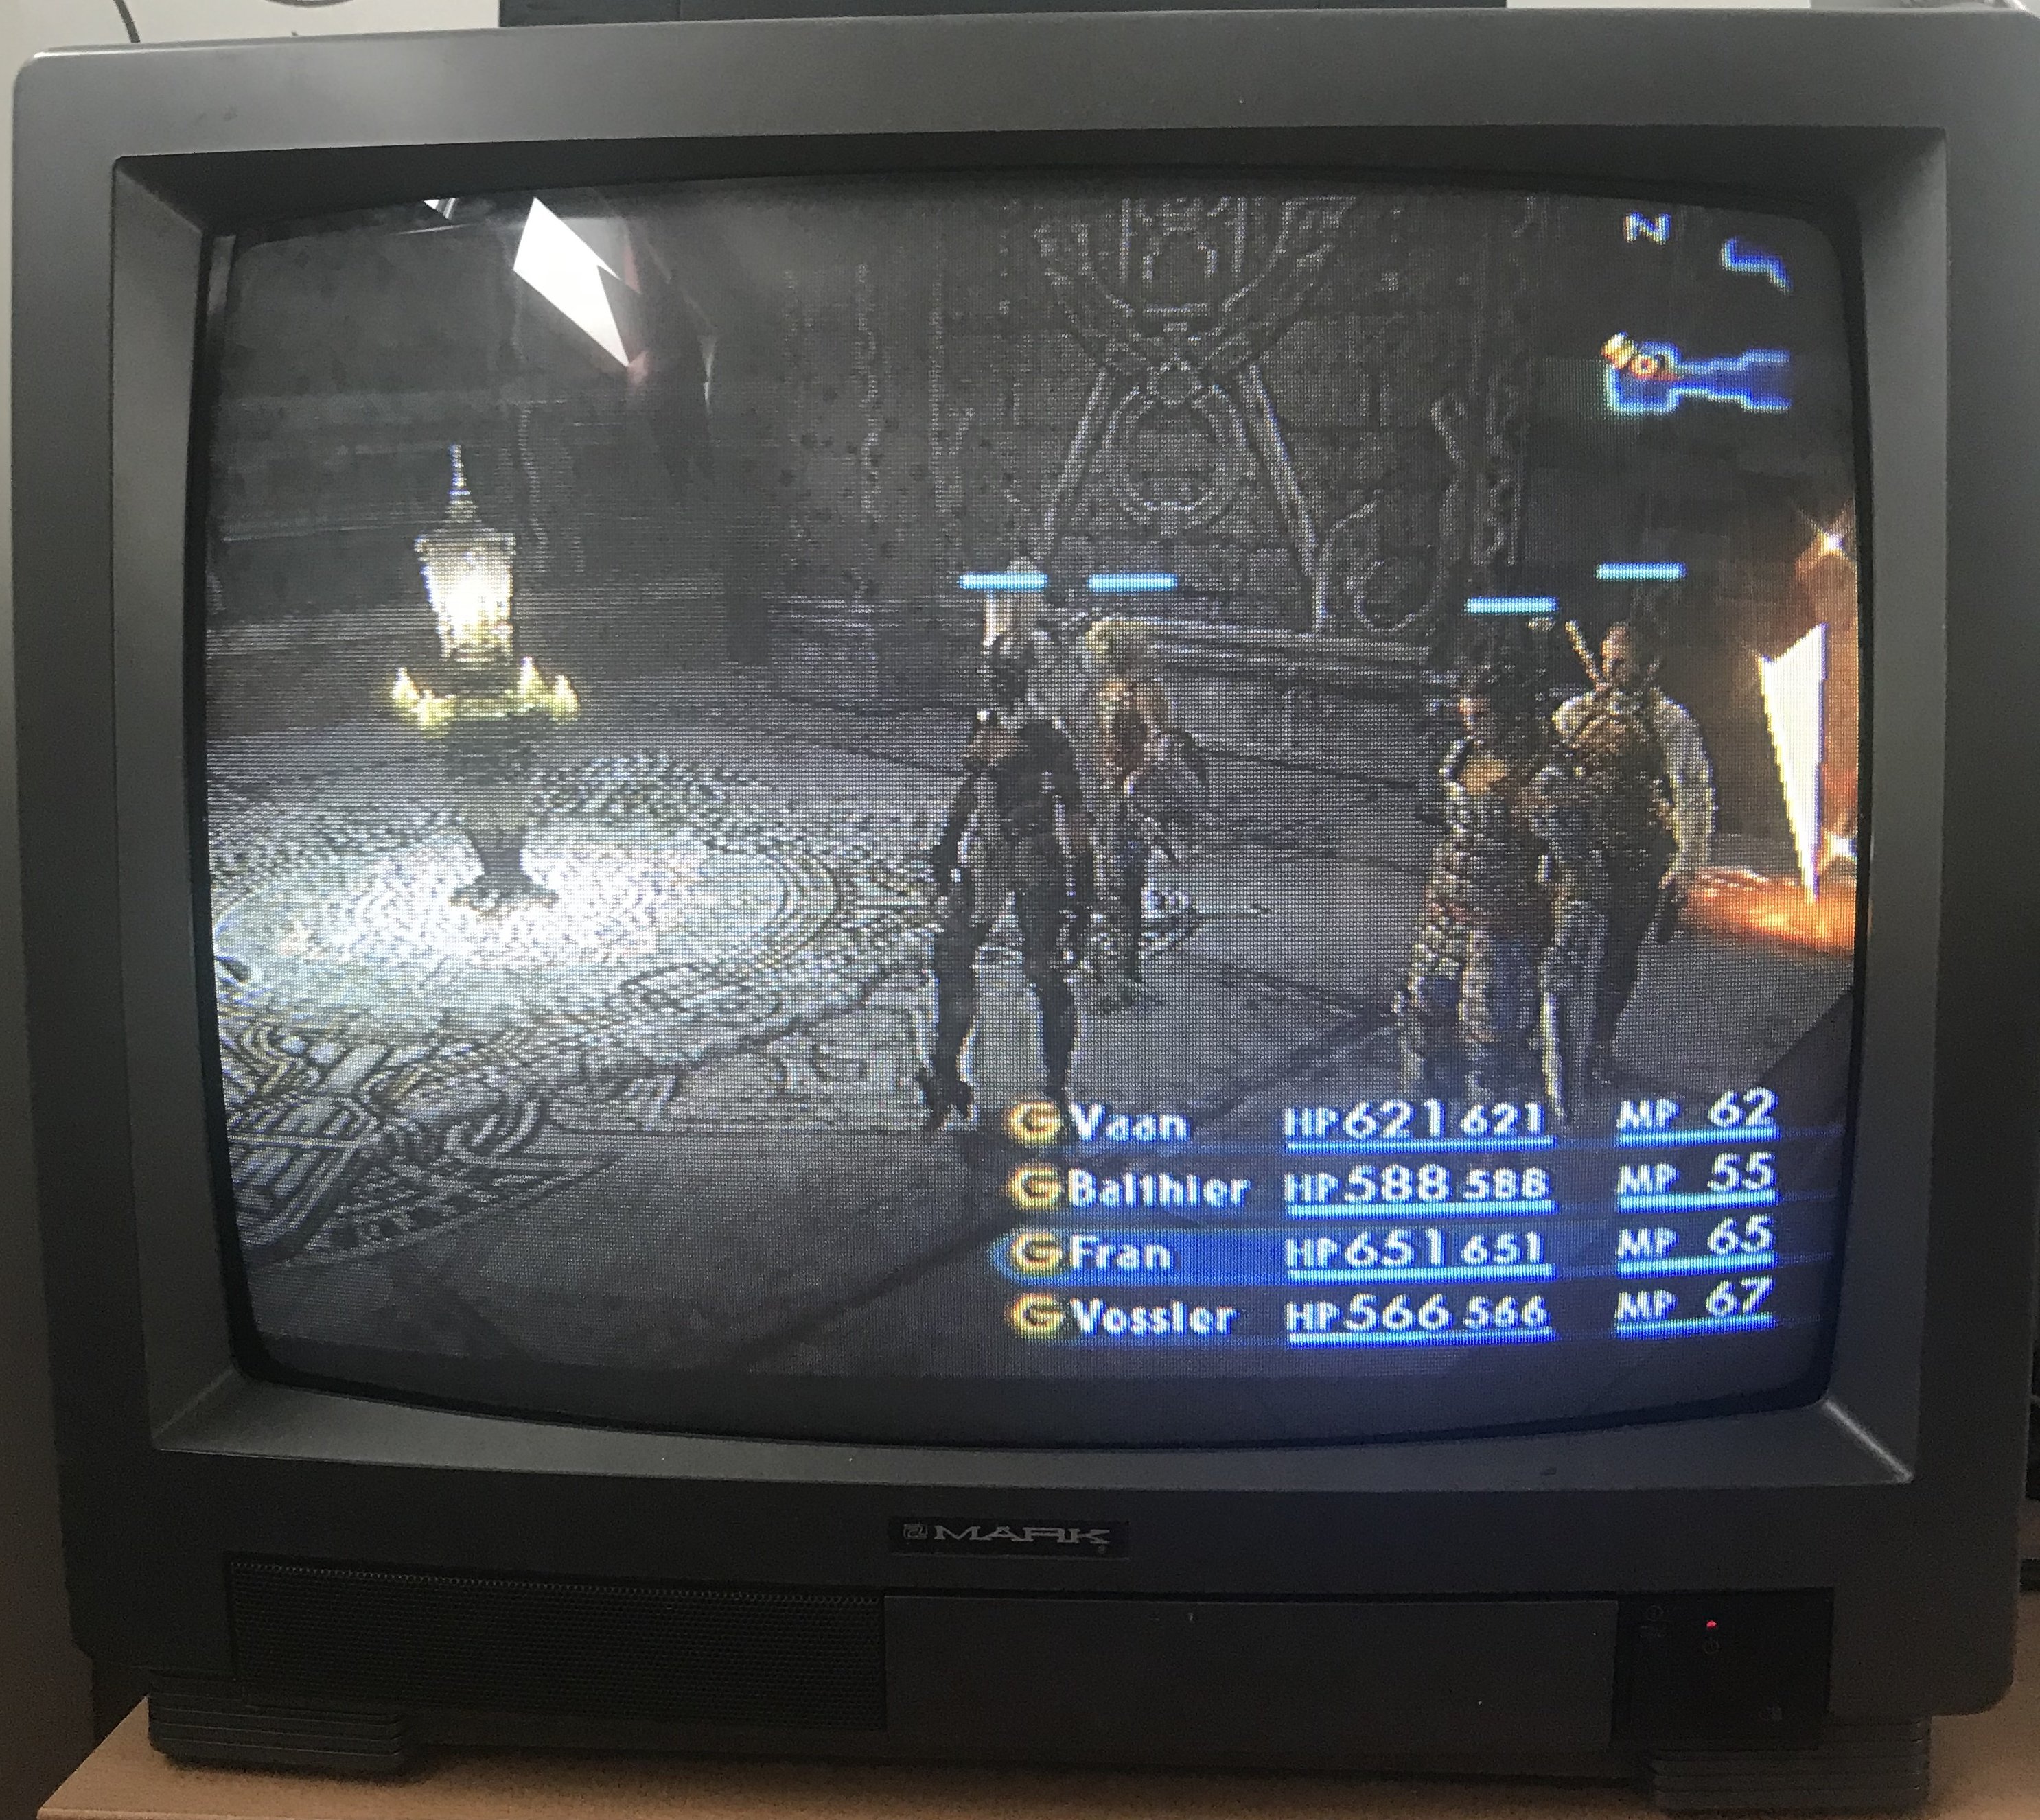
In 2017, I bought a used PlayStation®2 and a used copy of FINAL FANTASY® XII, and began playing it. It's a stunningly beautiful game, especially for its era, and I really enjoy it. Eventually, however, the novelty of playing it on an actual PS2 began to wear off. Even with Component (YPbPr) output, the visual quality is undermined by the PS2 only supporting interlaced standard definition resolutions, and FFXII especially suffers from this with its high-resolution textures that you rarely get to see in their full glory. It's also fiddly to wire up a PS2 to a PC monitor, and I can't take screenshots or videos while playing. All of these things can be solved by playing the game in an emulator on a PC. But I didn't want to have to start over! (This is also why I didn't just buy the official HD version when it launched on Steam.)
Luckily, it is possible to transfer PS2 game save files from a real Memory Card to a PC, and then to convert them to a format compatible with PCSX2, the popular emulator. I have successfully done it! I didn't need to hack my PS2 to do so. The following post details what I did which worked for me. I do not promise this is the best method, just one that works. This post also functions as an archive for the relevant software, since some of it is old and I don't want it to linkrot.
By the way, I was only interested in transferring a PS2 game save, so I don't know what you need to do for original PlayStation® (aka PS1 or PSX) game saves. PCSX2 only plays PS2 games, so you'd need a different emulator. The other parts of this process, however, might not be PS2-specific.
Step 1: Getting it off the Memory Card
The first challenge is to transfer the data from the Memory Card to a medium accessible with a normal PC. I suspect that if you are able to run homebrew software on your PS2 via a special memory card, disc or other solution, then there is probably some homebrew software out there that can transfer saves. I haven't tried this myself, but it may be worth looking into if it would be easier or cheaper for you. If that works, do not assume the rest of this guide applies.
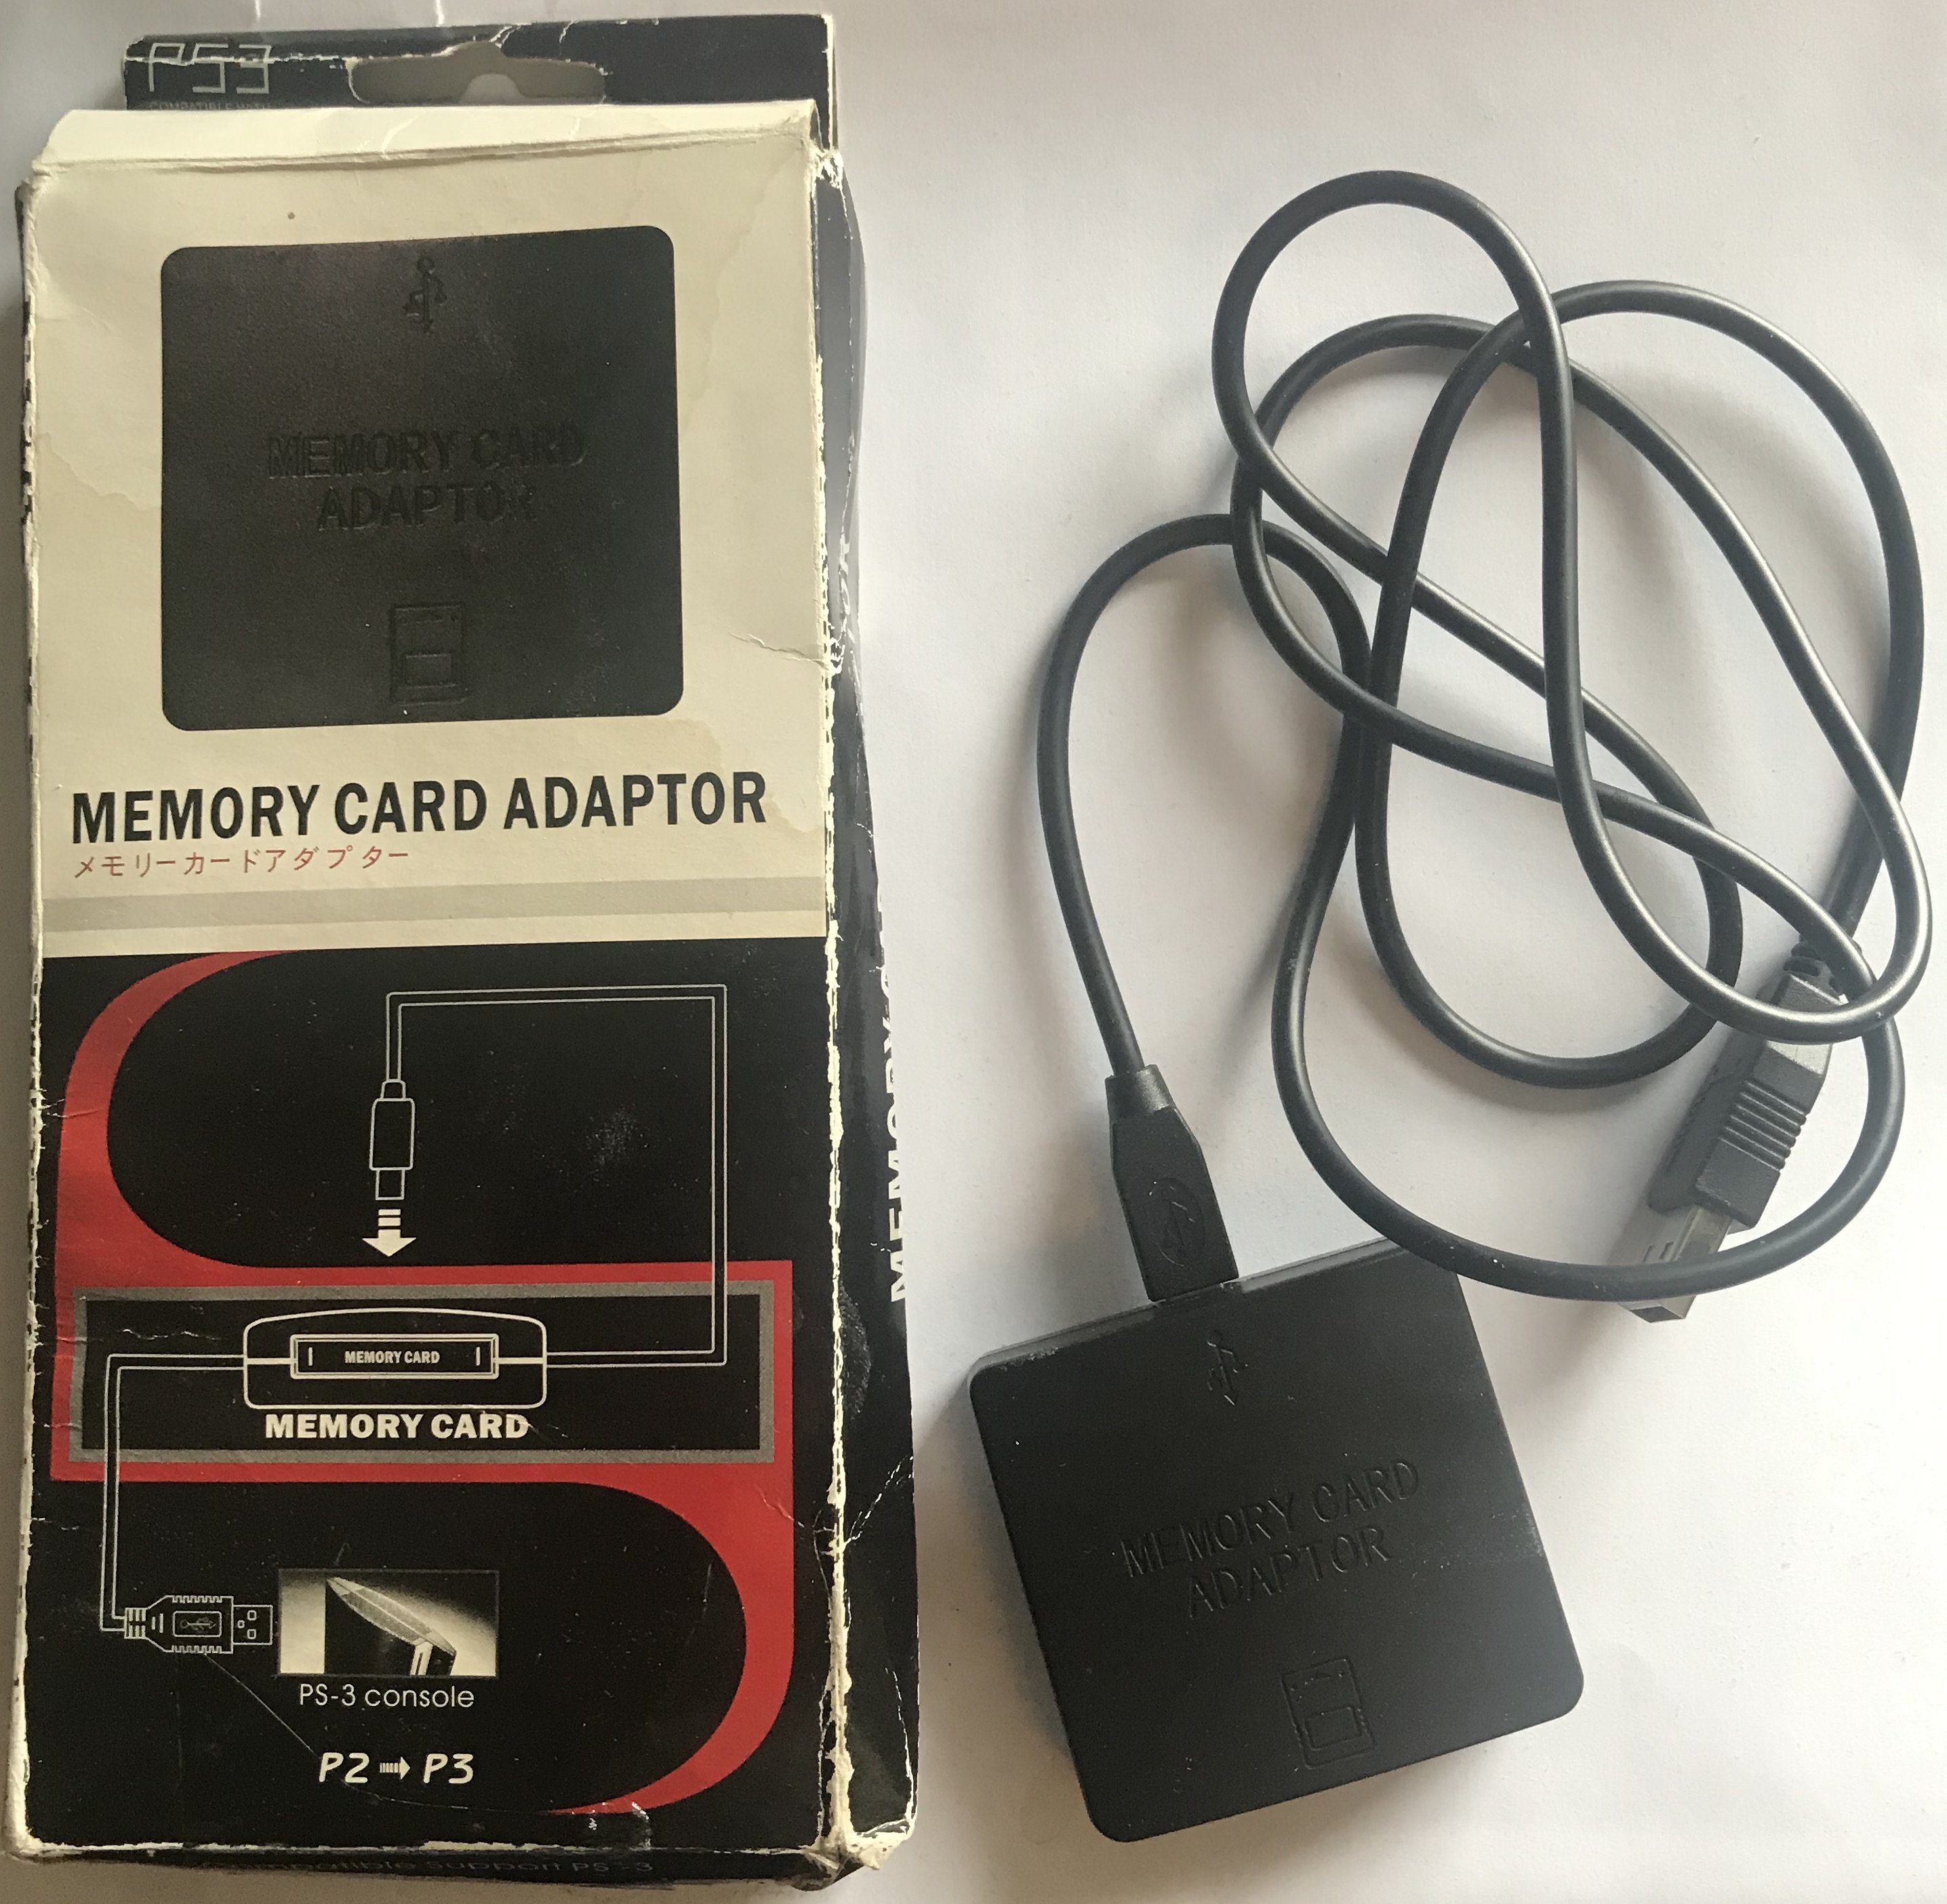
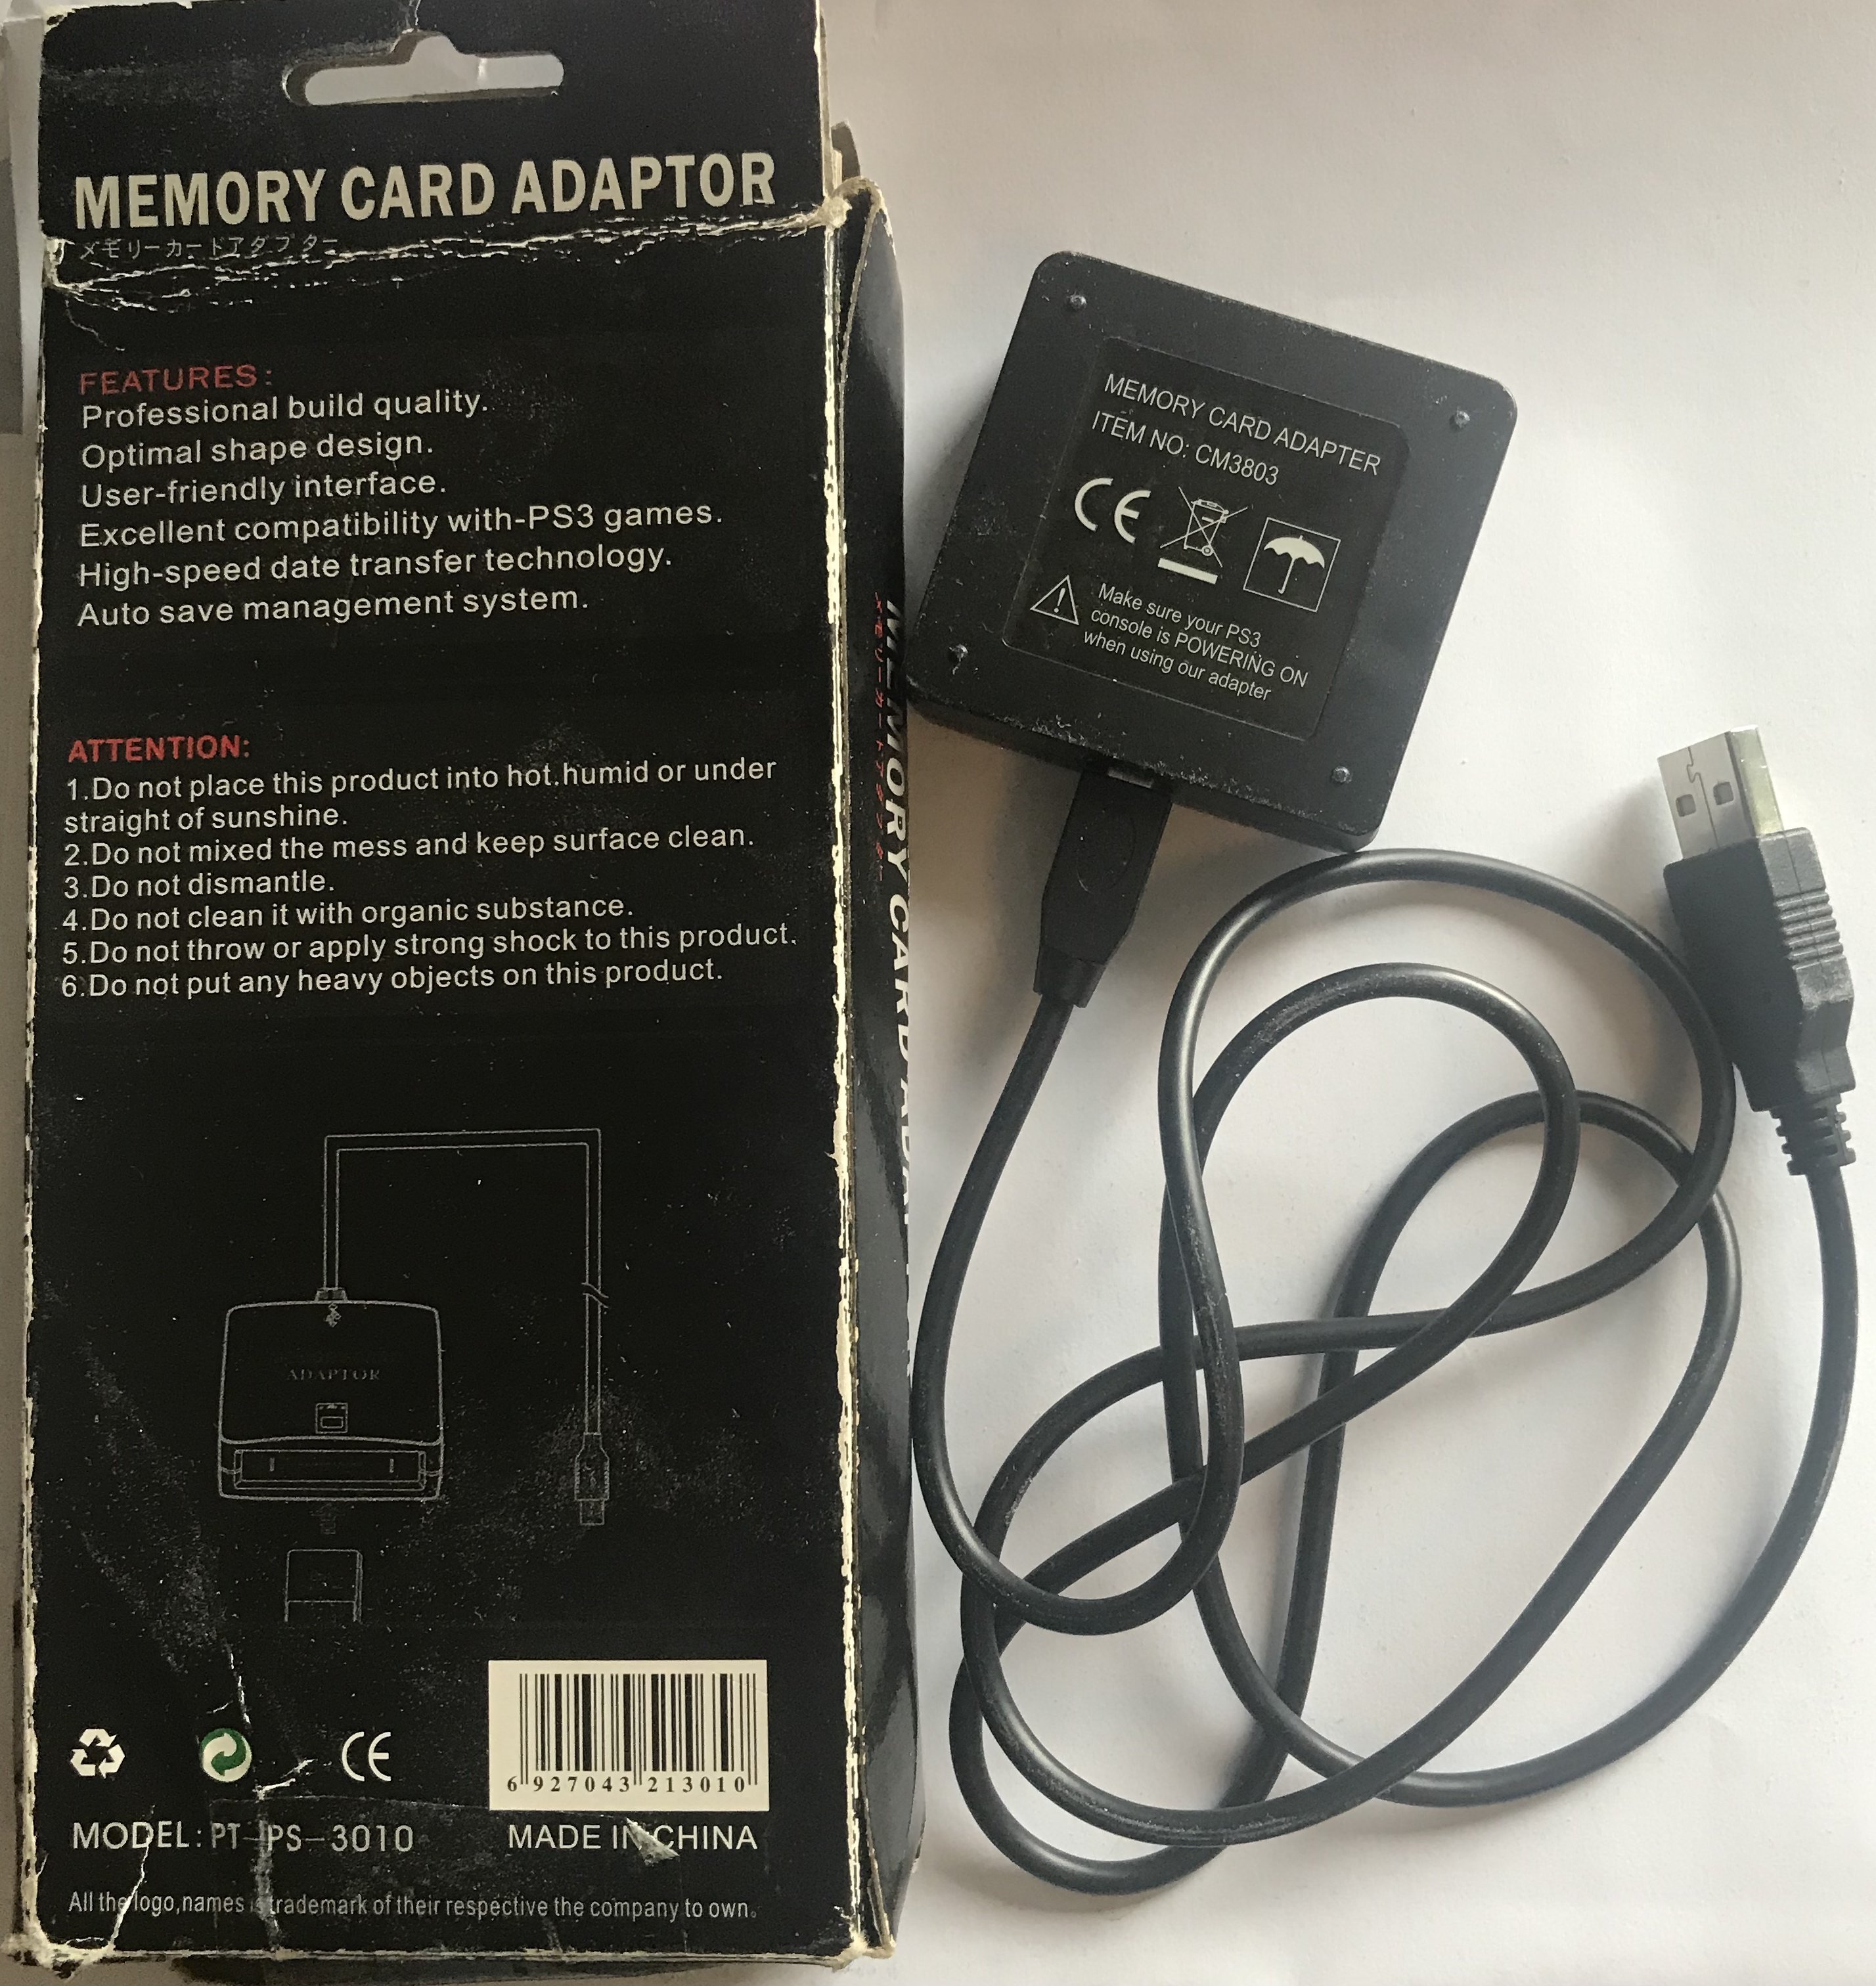
What I did was obtain a Memory Card Adaptor for the PlayStation®3. This is a simple little USB device that does exactly what it sounds like. Here are two photos of the one I was able to obtain used. It is an unofficial, unlicenced third-party one, but the official Sony® one is very simlar:
Since it's a USB device, I hoped I'd be able to use it with a normal PC. There is an unofficial driver for Windows, which was sadly taken down from its original GitHub URL by Sony under the DMCA. (I believe the takedown is because, combined with specially-crafted save data, you could use it to bypass the PS2's region lock or copy protection. But the same is also true of DVD burning software…) I was nonetheless able to get hold of a copy of it, but unfortunately it refused to work with my adaptor. I suspect this is because my adaptor wasn't an official Sony one. You may have more luck. If that works, do not assume the rest of this guide applies.
What did work to me was to use the adaptor with an actual PS3. I don't own one, but I do have some friends who own a PS3, so I borrowed theirs for a few minutes. The process is pretty simple: put your Memory Card into the adaptor, plug the adaptor into the PS3, and plug in a USB flash drive as well. It's then possible to make a backup of the Memory Card using the normal PS3 user interface and to save it to the USB flash drive. I do not remember the exact steps within the user interface, but it shouldn't be too hard to figure out for yourself. After all, it is something Sony want you to be able to do, unlike the rest of this process. My only advice is: if you have problems with the USB flash drive, you may want to try using a smaller-capacity one, or formatting it as FAT32.
The end result should be a series of nested folders and files on your flash drive that look something like this:
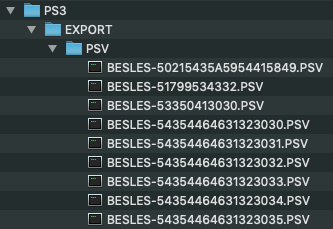
You are now ready for Step 2!
Step 2: Converting the “.PSV” files
With some googling, I was able to find a guide for converting the “.PSV” files to a format usable by PCSX2. (A copy is archived below.) It was quite helpful in finding relevant software, but the exact steps it provided didn't work for me.
The most important tool that guide linked to was “PSV Exporter” (also archived below). This Windows application does exactly what it says. Just go to File > Open PSV File and select one of the “.PSV” files that the PS3 produced. Then you can go to File > Extract All Files and choose a folder to export the files to. Within the folder you chose, it should then create a folder for you with the same name as the .PSV file, with some files inside. For me, the folder contained the files “static.ico”, “icon.sys” and “BESLES-54354FF1025”, though I'm sure this will vary somewhat by game. You can then repeat this process for each “.PSV” file. Thank you “gothi” for writing this very simple and useful tool! Note: The name of the folder it creates for each save file is important, so don't rename it.
This was all I needed to do in my case. The guide listed some further steps involving other tools named “PS2 Save Builder” and “mymc”; I've archived those tools too, along with some notes about how you might be able to get them working, in case they are needed in your situation.
Step 3: Using the converted files in PCSX2
PCSX2 is a popular PS2 emulator. It is easy to download and set up (aside from the need to “legally” obtain a PS2 BIOS). You will of course need a copy of the game in order to play it in PCSX2. You may even need the exact same version of the game; you probably should not expect save files to work with different versions of the same game, though feel free to try it. In my case, I have a Blu-ray drive in my PC, so I can just use the exact same authentic FINAL FANTASY® XII game DVD I was using on my real console. I didn't even have to rip it, conveniently enough. PCSX2 can play PS2 games directly off the DVD.
Anyway, getting the converted files to work in PCSX2 was pretty simple for me. I just needed to use the option to use a folder as a Memory Card, rather than a file. To do this, go to Config > Memory cards to open the “MemoryCard Manager”. Then click Create ... and choose the Folder [experimental] option. Then you just need to remember to make sure that the virtual Memory Card will actually be “inserted” into the virtual PS2. You can do that by selecting the new Memory Card, clicking Insert ..., and choosing your favourite port.
The next thing I did was to start the game in PCSX2 and get to a point where a save file can be created. (In the case of FFXII this takes a few minutes.) I then tell it to save to the virtual Memory Card created before (remember to select the correct slot!), and let it format the card and save the game. I don't know why this step is necessary, but it doesn't seem to be possible to skip it.
For the final step, locate the PCSX2 Memory Cards folder. If you go to Config > Memory cards in PCSX2 to open the “MemoryCard Manager”, it should show you at the top where this folder is, and there is a handy Open in Explorer button. Assuming that worked, you can then enter the folder corresponding to your virtual Memory Card (the name will end in “.ps2”). Here you should find a file called “_pcsx2_superblock” (leave it alone!), and a folder corresponding to the save you just created. I deleted the latter, though I don't know if this is necessary — I suspect it might be if the save you want to import belongs to the same save slot. Now you can copy the save folder that “PSV Exporter” created earlier into the virtual Memory Card folder (the one ending in “.ps2”). Make sure you copy it intact: you want to copy the whole folder, not just the files inside it!
If all went well, you should now be able to restart the game and load the save, and enjoy the benefits of emulation, like taking screenshots and higher resolution! ^^
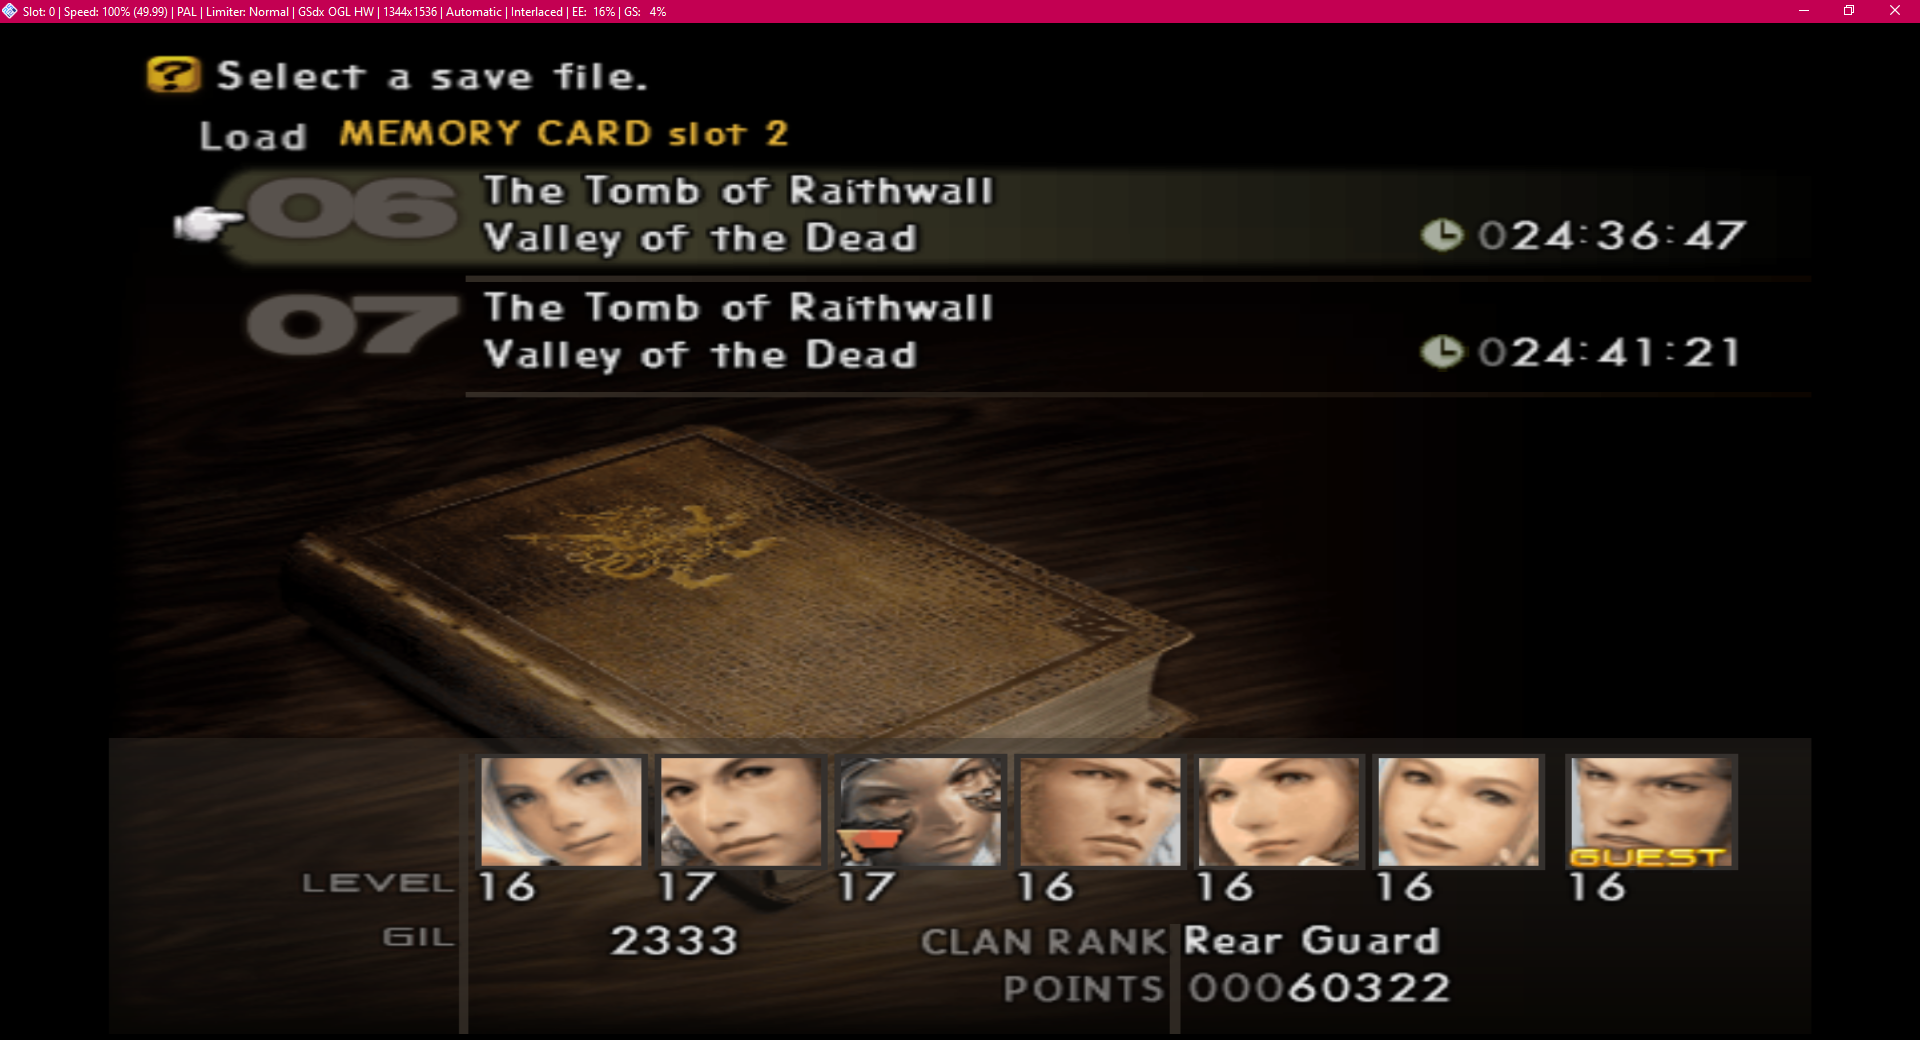
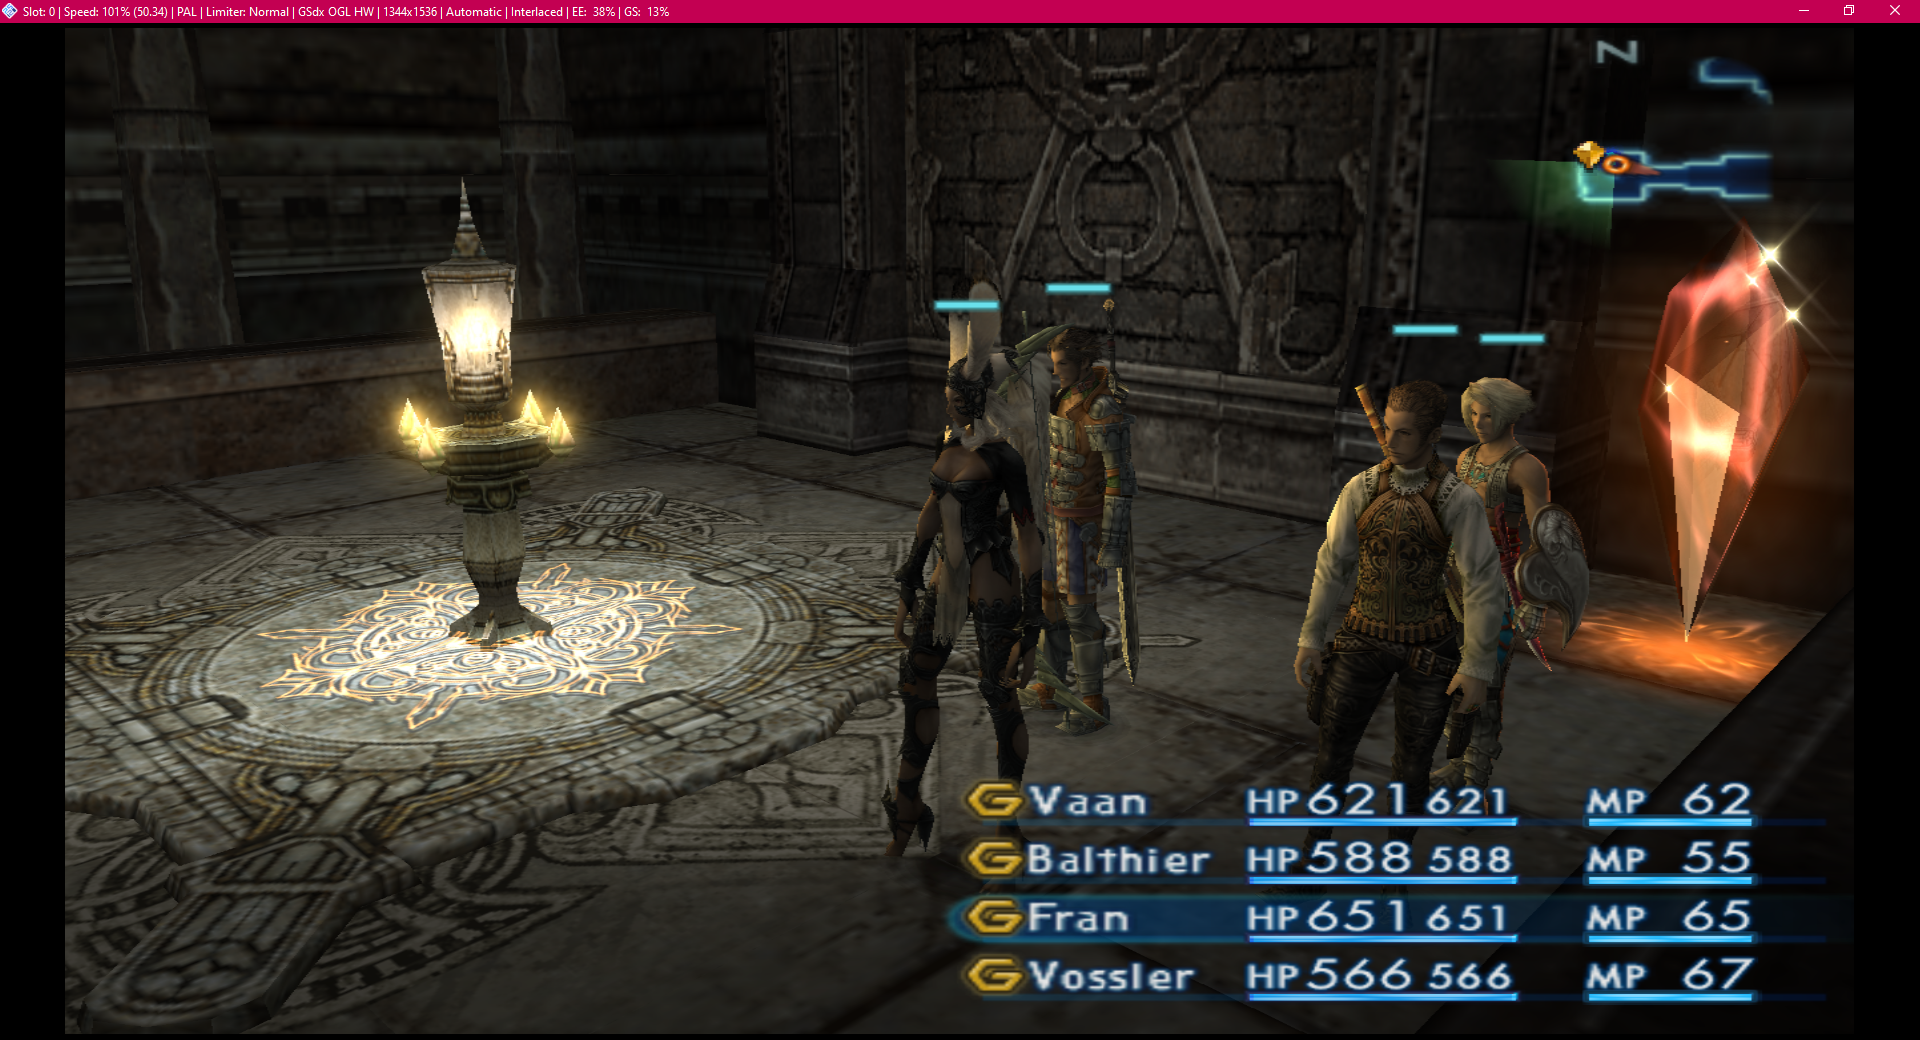
I hope you can have the same great results as me. By the way, PCSX2 doesn't run the game at higher-than-SD resolution like this by default. But it's pretty simple to change it to do so in the video plugin settings.
Archive
Here I'm archiving the software and guide I used, lest they disappear from the web in future. I didn't create any of this myself, and I can't promise that it works properly or is safe. Please bear that in mind and exercise caution!
The guide: “How To Convert PSV To PCSX2 format” by “MMORPG GamerZ”. Original link / My archived copy (ZIP file for security reasons).
Tools I actually needed:
- “PSV Exporter” by gothi, version 1.3. Original link / My archived copy. This ran fine on my 64-bit Windows 10 install without me having to do anything.
Tools I tried to use, and which might be useful to you, but I didn't end up needing:
- “mymc”, presumably by Ross Ridge. Original link / My archived copy. My copy is a ZIP file of the whole mymc website, including the Windows and Python releases of mymc, the README, and Ross Ridge's PS2 memory card file system documentation. It's a ZIP file because I don't want it to seem like part of my website — it's not my work! Anyway, when I tried to use the Windows release, it didn't work on Windows 10. But by installing Python 2.7 I was able to get the Python version to run from the command-line, though I didn't have any luck getting it to do what I wanted. I suspect the problem is I was using a PCSX2 Memory Card file that hadn't been formatted.
- “PS2 Save Builder” by Vector, version 0.8x. Original link / My archived copy. This didn't run on my 64-bit Windows 10 install until I right-clicked the file in Windows Explorer, clicked Properties, went to the Compatibility tab, and ran the compatibility troubleshooter. It recommended running it in compatibility mode for “Windows XP (Service Pack 3)”, and that got it to work.
I haven't archived PCSX2 here because it's a well-known and actively-developed project, so it is likely to stay alive. I am not providing a copy of the Memory Card Adaptor driver here because I don't want to get a scary letter from Sony.